After my friend, Patty saw the
felt stocking I made my niece, Eliana, she contacted me and asked me if I might be up for creating something for her daughter's bedroom. She loved the tactile 3-dimensional nature of the stocking I made and wanted to mimic that in the wall hanging.
Her daughter, Mary Rose was born blind because she has a mutation in the
CEP290 gene. Mary Rose has overcome so many challenges already in her life and still works to overcome others. We first met Patty, Mary Rose, and their family four years ago when my younger daughter was in the same preschool class. They enjoyed each other's company for two years in preschool and sadly they go to different schools and haven't seen much of each other the last couple years. We have stayed in touch, and Lily and I have happily participated in
Mary Rose's From Darkness to Light Walk.
 |
| My daughter Lily (in pink coat), with Mary Rose (blue coat) and Elizabeth, another friend from the same preschool class. |
 |
| Mary Rose with her whole family! |
Patty contacted me to make the wall hanging for Mary Rose and I jumped at the chance thinking it would be a really fun project. When we met to talk about what she had in mind, Patty brought this t-shirt that had been hanging in Mary Rose's room since she outgrew it.

It says believe in braille under the word. So cool! We talked about how we could incorporate the shirt in the wall hanging. At first, we talked about making the "believe" the center of the canvas and then just putting some flowers and ribbons in a swag around it, maybe some buttons too. But each time I sat down to think about the project, I had this image in my head that I just couldn't get past. I scrapped the original more abstract idea and created something a little more literal. I know Patty thinks about Mary Rose's future and how she will be able to get along in the world as she gets older. And I know Patty has a very strong faith. I wanted to remind her that if you believe hard enough, Mary Rose will be able to one day leave the "nest" so to speak and fly off on her own.
I had many of the materials already from other projects I've created. But I did ask the woman at the fabric store what the best adhesives were for what I had in mind. Once I had gathered everything and created felt flowers similar to Eliana's stocking, I laid everything out without making anything permanent.
Then I showed it to Patty, not sure what she would think. I was worried it would be way too literal and not at all what she had envisioned. But she LOVED it! So I set out to attach everything permanently.
Starting with the blue felt background. I used Super77 multiple purpose spray adhesive, I sprayed the canvas and then the felt. I left the felt on the floor and then placed the canvas upside down on top of the sprayed felt. Gently, I stretched the fabric around the edges of the canvas and adhered it to the back using the spray glue.
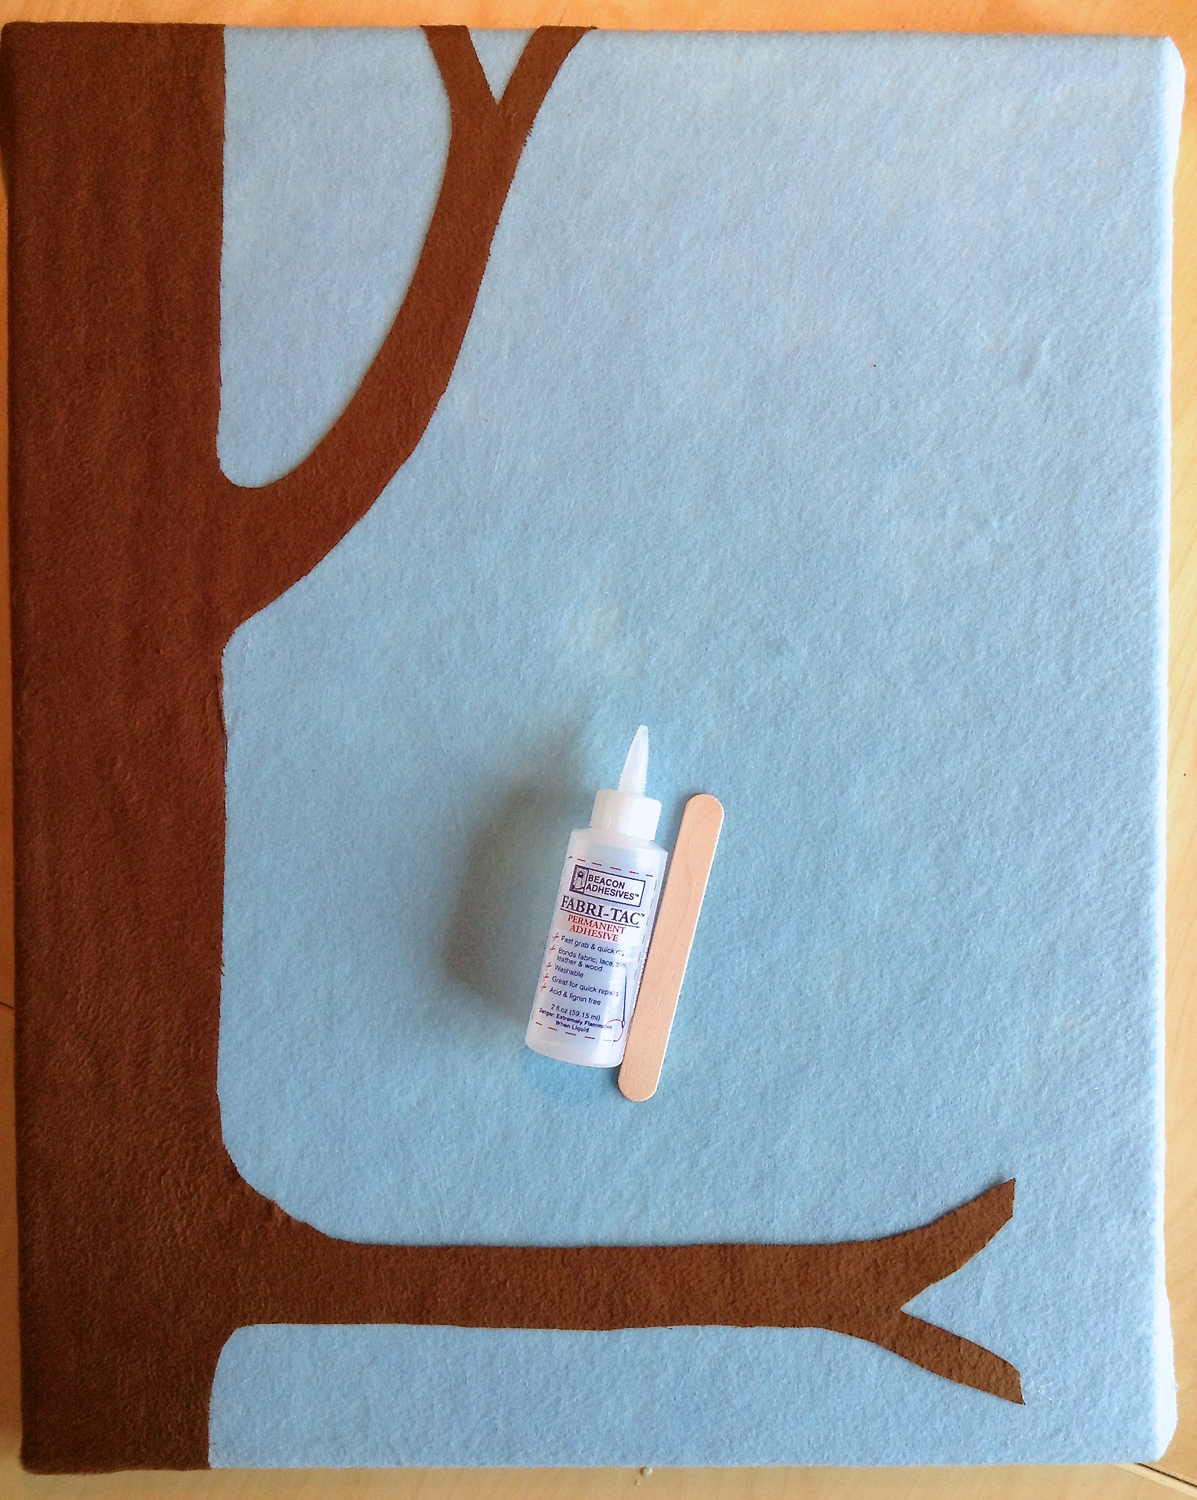
I use Fabri-tac to adhere the flannel tree material (I cut the tree freehand). I used the craft stick to smooth it all out.
Then came the scary part. I was soooo nervous about cutting the t-shirt and putting it on the canvas board. I had my husband cut the 8x 10 board down to the size I needed.
I trimmed the t-shirt and used the Super 77 spray adhesive to adhere the shirt to the board. Then used the fabri-tac to glue the ribbon around the outside.
Whew! It all worked out fine. But I was pretty anxious all during this part!
After that I just glued all the bird, ribbon, and flower pieces on with the fabri-tac. And here is the final product!
This image doesn't do it justice because you can't really see how tactile it is or how 3-dimensional. So I took a few more images to try and convey that.
I embroidered and stuffed the birds to make them stand out a bit. And I embroidered the leaves to give them some added texture.
I cannot tell you how excited I was at the fabric store when I found the hard plastic flower buttons! I thought that would be such a great tactile thing for Mary Rose!
So there it is in all its glory! I'm sad to say that Patty, Mary Rose and their family are moving to Texas in a few weeks. Not sure when I'll see them again. But I'm so happy for them. It should be a great move for their family. And Mary Rose will have a wonderful canvas to hang in her new room. One she can touch and feel to her heart's content! Thank you so much for involving me in this project, Patty. I cannot tell you how fulfilling and rewarding it was for me to create it. :-)