Showing posts with label ornament. Show all posts

Friday, January 1, 2016

Folded Fabric Ornaments!

Wow! It's been a year and a half since I lasted posted! Hard to believe! But, life takes over and well, priorities change! I am so impressed with how many of you continue to find my older posts useful. I created this blog to share our projects and it's so fun to see how others are still enjoying our creations!

In the last year, my girls and I have ventured into fabric and sewing! They are now 10 and 12 years old! And so self-sufficient! They search for projects on Pinterest and watch tutorials on You Tube. It's been truly amazing to see what they come up with and create.

Last year, I taught myself to quilt and made each of the girls a new quilt for their bed (I'll try to post about those before another year and a half goes by). I'm in the middle of one for my son that I hope to finish yet this winter.

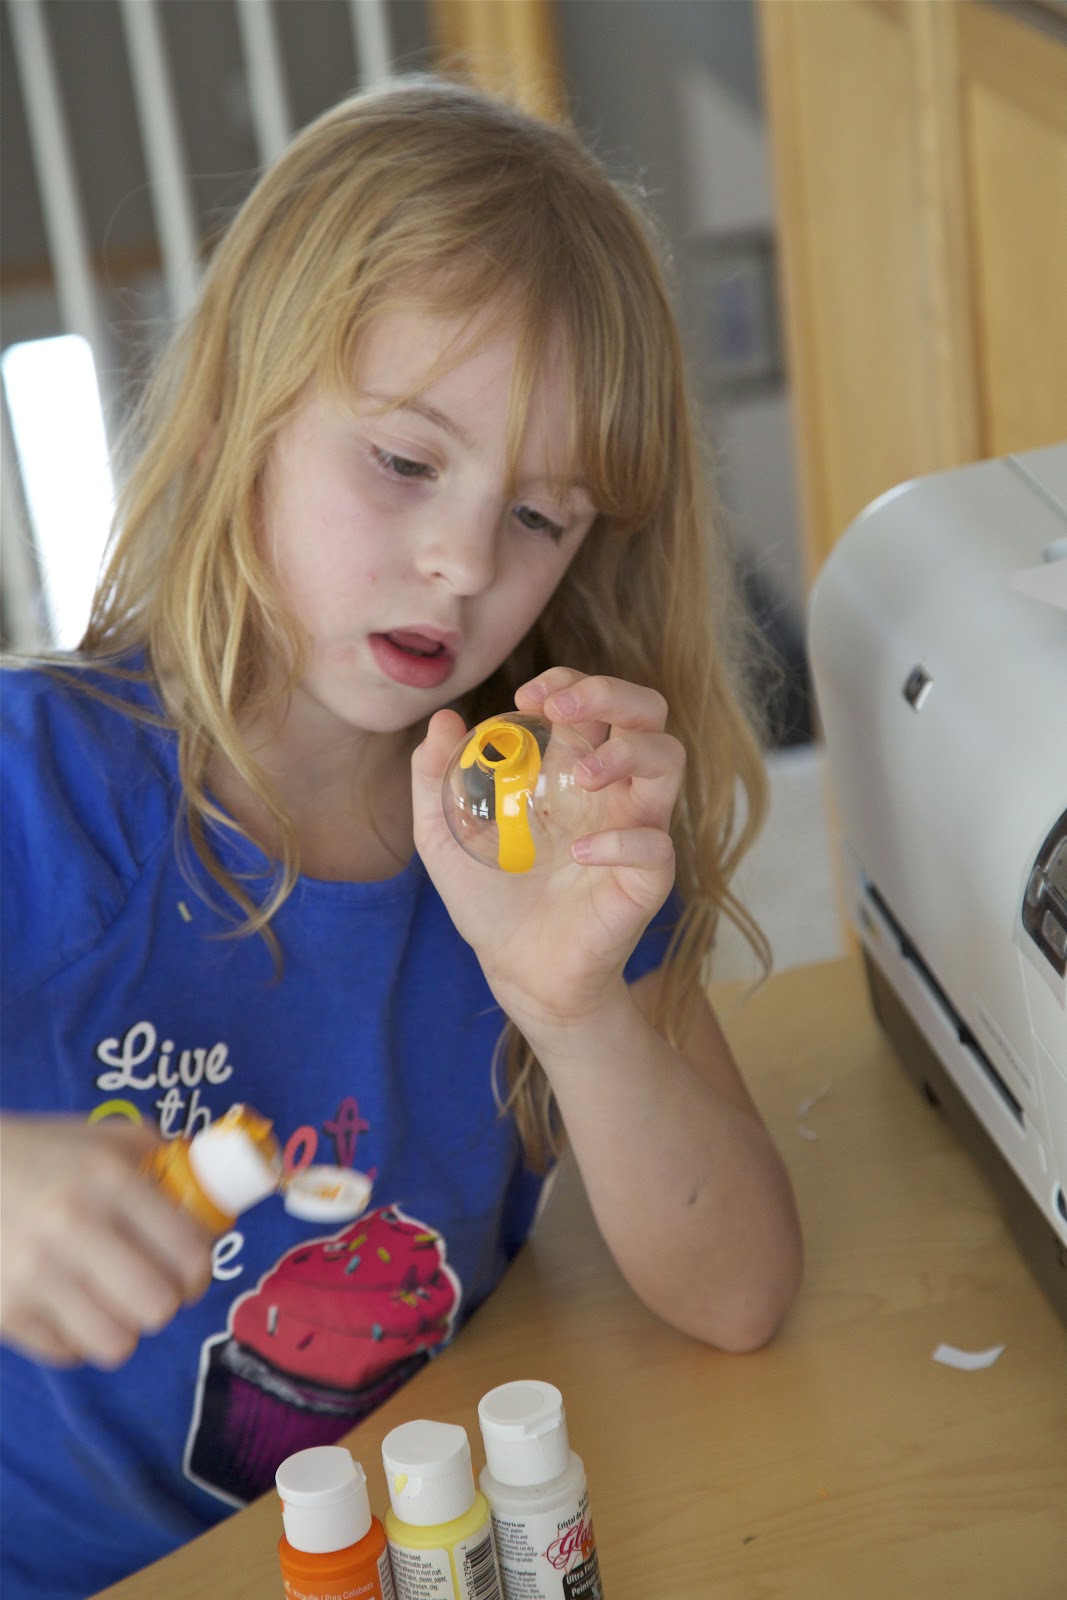
More than a year ago, I came across a super fun blog called The Ornament Girl and loved her creations. With my newfound interest in quilting, I revisited her site last month to take another look at her ornaments. On a whim, I bought her December Ornament kit. With my purchase, I received an e-book tutorial for how to make the ornaments and I immediately went to work before I ever even received Staci Ann's kit in the mail!

Here is my first ornament attempt!
I just used scraps of fabric I had from quilted hot pads I made last Christmas. I couldn't stop there so I made two more. Here's all three of my first creations:
Then, my 12 year old wanted to learn to make them. So we dug out her jelly roll of fabric she received last year. Soooo easy! It was already cut into strips so we only had to cut it into rectangles to use.

Here is her first attempt!
And then my 10 year old got in on it and here is her first ornament (front and back):
When my kit arrived from The Ornament Girl, I created this in no time at all!
You can see all of our folded fabric ornaments in this facebook photo album....click here!

To learn how you can make these beautiful (and actually, super easy) ornaments, check out the Ornament Girl shop! Don't forget to click on "About" and learn how Staci Ann started her business. I love that I can help support her and her family.

Make your own quilted ornaments. 

Get a free no-sew fabric ornament pattern.  

Wednesday, January 16, 2013

Toddler Activity: Magnetic Ornament fun

I came across this pin on Pinterest for gluing magnets to ornaments to decorate your fridge. It dawned on me that it would be fun to use magnets on ornaments to play with on our magnetic board. I had come across ideas for hanging a felt tree on the wall for young kids to decorate and redecorate over and over again. I thought for my son sticking and pulling off magnets would be more fun. I could also have ornaments that had different textures to make it more sensory interesting for him.

Michael's again came to my rescue. They had small ball ornaments as well as sticky backed 3/4-inch magnets. They also had really small metallic bows as well as some Santa/presents/candy canes that I thought would be fun. THEN, while I was at Target, I came across sets of 8 mini ornaments that were both Mickey Mouse and Toy Story themed. PERFECT! His favorite characters! I attached magnets to everything.

The only down-side is that the sticky magnets didn't want to stick to the small christmas ball ornaments very well. I tried hot gluing them on, but that didn't work great either. Thankfully, they seemed to stick to everything else. (I feel like I need to add the disclaimer: Of course, children need to be supervised around magnets. Just for the naysayers who may come across this post.) ;-)

I drew a Christmas tree shape on the magnetic board and showed my son how to decorate the tree. He enjoyed this activity a bit. But he didn't stick with it for long. I think he'll like it a bit more next holiday season. I saved the little magnets and I'll bring them out again. He will be more into sorting and counting next year and I think we'll be able to make more use of them. You could do all kinds of things. Math based activities, patterning. The ideas are endless!
I think he'll like it a bit more next holiday season. I saved the little magnets and I'll bring them out again. He will be more into sorting and counting next year and I think we'll be able to make more use of them. You could do all kinds of things. Math based activities, patterning. The ideas are endless! 
And just because it is super cute. I had to throw in these last two photos:
Do you see what my son did before he fell asleep for his nap? He lined up all his Christmas Little People on the bar of his bed! I just about cracked up when I noticed that! So of course, I had to take a photo. ;-)

Toddler Activity: DIY Ornaments

About a year ago, I came across this post at Play at Home Mom. It was a play invitation for a toddler or preschooler to make their own filled ornaments. I LOVED this idea and mentally filed it away to use this past holiday season with my son.

Michael's had tiny little Christmas fillers on sale and I bought things that I thought would appeal to my son's sensory needs. I picked bright, shiny or textured objects. Some were little bells that rang when you shook them. And I bought PLASTIC ornaments for him to fill. I knew glass would not be the way to go with this kid. ;-)

Here is the invitation:
He seemed genuinely intrigued....at first.
He did what I was hoping for with the activity with ONE ornament. BUT, some activities just don't really go how you think they will. Now, I had imagined him having a grand ol' time filling all the ornaments with all the different items in the tray. And I had shiny shredded material to put in as filler as well as red-colored Epsom salt. However, as soon as I showed him the Epsom salt and funnel, he was done for. LOL!
He started off filling the ornament with the salt. But then he just dumped it out. And then wanted to dump his other ornament (with the bells) out. Then he wanted to pile all the shiny little objects together in one part of the dish.
And then he wanted nothing more to do with them. BUT, he did want to play with the Epsom salt more! So I let go of my expectations for the activity and we turned it into a total sensory play moment with the Epsom salt.
He scooped!
 Put it in his hands
 Wrote in the salt
 And poured!
He investigated the material thoroughly and to his heart's content. And I just sat back and enjoyed watching him learn about it!
Sometimes we just need to not have any expectations and see where things take us! :-)

Thursday, December 6, 2012

Handmade Holiday: Melted Crayon Ornaments

Remember our melted crayon pumpkin in October?? Well, the woman who posted that idea from The Swell Life, also tried melted crayons in ornaments! BRILLIANT! And though I LOVE how the pour paint ornaments turn out, they are quite a process with pouring paint, dumping paint, wiping off paint, waiting for paint to dry, etc. These, you can just make and hang on the tree immediately. Nothing else to them!

Just cut up small pieces of crayon. I found you truly need a tiny piece. Too big and I felt like it was too much. But you can experiment and see what appeals to your artistic spirit. I also used low on my hair dryer, but it takes a bit longer for it melt. You will need to be careful because the glass does get quite warm. I used a clothes pin to hold it and turn the ornament without having to touch it.
After doing a few abstract ornaments with color combos the girls chose, I realized that I didn't like when the colors melted together. Sometimes, the colors mixed together didn't look as pretty (to me) as the original solid colors. I was able to turn the ornament and roll the crayon in a manner that made a swirl on the glass. Oh, how I loved this!
You can do one color. Then place a new color in the clear part and make a new swirl between the lines you already made.
Here are our crayon ornaments!
I think the colors in the second set are my favorite, but I love them all. I REALLY love the rainbow ornaments. For the bottom right rainbow swirl, I made one swirl with tiny pieces of each color. I added the new color in a continuous swirl all the way around.
I could have kept making these all day! There was something uber relaxing about this process to me. Definitely more of these in our future!

As we were creating all of these ornaments, I came across this on Pinterest, which inspired me to do this (please ignore my incredibly wrinkly tablecloth) in our living room/dining room:
It's fairly simple, but I LOVE it! And it shows off some of our ornaments on the main level (since our art tree is upstairs in our loft).

Handmade Holiday 2012: Pour Paint Ornaments

We have been on an ornament making frenzy around here! Not sure why this year we are so into making ornaments, but it sure has been fun! Maybe it has something to do with all the great ideas on Pinterest. ;-)

I've already written about pour paint ornaments in a post about my holiday craft workshop. But I thought I would elaborate more. The girls and I made quite a few more. We have two trees in our house. A large tree in our family room that has our Hallmark ornaments, ornaments from places we've visited, and special ornaments (like all of our Baby's First Christmas ornaments, etc). Then, we have a smaller tree that we usually put in our front window. I decided this year we should put it in our loft upstairs next to the art room. We usually have mostly cheapy, plastic-y, matchy ornaments on that tree that we bought a few years ago when we didn't have enough ornaments for two trees. Well, we've made enough ornaments this year to fill our small tree. And what fun to have handmade ornaments on a tree that is right next to our art room! :-)
 Hard at work!! Such concentration!
 Here are the pour paint ornaments that are now on our tree!
A few tips! Definitely put only a litle bit of paint in. You just have to be reeeeaaaallly patient. Just keep turning the ornament around and watch the paint swirl. The less paint you use, the more layered the ornaments will be. If you add a lot of paint, it won't be as swirled, just large areas of one color here and there.
And the best part is that we can enjoy them on our tree for a few weeks and then we can pick some to wrap up and give to people. And we can make new ones for the tree next year!

My daughter's girl scout troop also made some pour paint ornaments to sell at their holiday boutique. The girls did an amazing job! I was fascinated to see the color combinations the girls came up with. They also made super cute reindeer ornaments that I'll post about separately.
 
They put some colors together I never would have thought like red, metallic gold, and turquoise. I never would have suggested that and it turned out FABULOUS (see lower right in the photo below. Here are some of the more fun combos the girls came up with:
I also came across a glow-in-the-dark version of the pour paint ornaments! Oh swoon! Yes, I have already bought the paint, in case you had any doubt. Thank you Michael's 40% off coupon. I will update after we make some of these. I thought we might hang them in our south facing family room window. It receives full sunlight nearly all day! And yes, hello, my name is Holly and I'm officially addicted to making Christmas ornaments. I'm pretty sure my husband thinks I'm insane. LOL!