I will admit it, during the summer, my son was in front of the television quite a bit. I have 9 and 7 year old girls and a 2 1/2 year old boy. It's tough to find art activities that will work for all three of them. We did do a few projects all together this summer, but quite a bit of the time, if I was doing something with the girls and it wasn't nap time, poor Kellan was watching a movie. Now, this wasn't all day or anything like that. But definitely more TV watching than I would like. So, now that school is back in session for my girls, I've tried to make a concerted effort to do activities that are on Kellan's level and get him away from the TV. I actually have quite a few to post about, but today's was so fun I had to jump on here and post right away!
We made SLIME! And he LOVED it!
We were inspired once again by The Chocolate Muffin Tree, and
her slime exploration post. All you need is the following:
--Glue (either Elmer's white glue or Clear Glue--we used
Colorations Clear glue from Discount School Supply)
--water
--bowl
--Borax
--food coloring or liquid watercolor
You mix 3/4 cup warm water and 1 cup clear glue (or elmer's glue) and coloring (we used Liquid watercolor--a few drops was all we needed). We mixed the water and glue in the green measuring cup and then poured it in the bowl mixing the color in there.
How fun is it that there are actually photos of ME doing the project with Kellan! My husband works from a home office and he happened to come up for his lunch today at the same time we were making the slime. He grabbed the camera and took a few photos of me with Kellan. :-)
Then we mixed 1 1/3 cups warm water and 4 teaspoons of Borax in a measuring cup (make sure none of the Borax is inhaled and none of the slime ingested). Then added that to the bowl with the colored glue mixture.
Once you add the Borax mixture, you see results IMMEDIATELY! The slime starts to form right away.
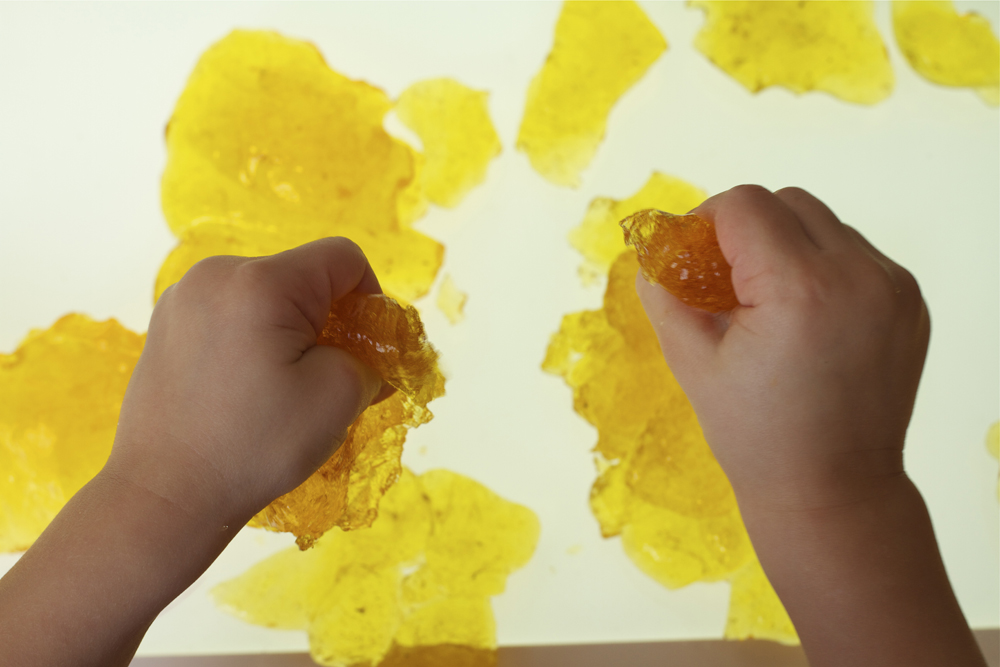
As soon as we had it mixed up pretty well, we took it out of the bowl and played with it on the counter. There was still quite a bit of liquid left in the bowl. I just set that aside. After playing with it for a bit on the counter, I moved him to the light table to play with it! Because we used clear glue, the slime was fabulously transparent and looked AMAZING on the light table!
After playing with it with just his hands for a bit, I got a pumpkin cookie cutter and that worked really well too! The slime is thick enough to "cut".
If I had thought of it while we were playing, I would have grabbed a few black beans for him to make a pumpkin face in the slime. The opaqueness of the beans would have looked really cool on the light table against the transparent nature of the slime! We'll definitely do that next time.
After he was done with the cookie cutter, I gave him a ziploc bowl. He squished the slime in and dumped it out. It held the shape of the bowl! You could make "sand" castles with different size and shaped molds!
After you play with the slime for a bit, it gets sort of crumbly. So we added it back to our liquid in the bowl and kneaded it a bit and it became more liquified again.
All in all this was an incredibly successful activity for my sensory seeking boy! We just put it all back in the bowl and I covered the top with saran wrap. It's sitting waiting for the girls to get home from school. I'm pretty sure my nine year old sensory seeking girl will LOVE this as well!