Showing posts with label pour painting. Show all posts

Sunday, May 26, 2013

The Best of Pour Paint

We LOVE pour-paint projects around here! They are messy, fun, and they always turn out beautiful! I thought it would be fun to post them all together in a "Best of" post! Click on project titles to head to the post and directions for the project!

Pour-Paint Vases

Pour-Paint Glassware
Wine Glasses

Pour-Paint Christmas Ornaments

Pour-Paint Pumpkins

Pour-Paint Flower Pots

Pour-Paint Handmade Cards

Craft Project: Pour Paint Handmade Cards

We made a second round of pour-paint flower pots this spring, and while I was watching the paint drip down to the cardboard, I was mesmerized by the amazing pools of paint on the cardboard. I thought, "What a waste of paint!" and "How can I do something with these great pools of color?"
The pooling kind of reminded me of Suminagachi projects I'd seen. Which made me think of paper! So I grabbed some thick watercolor paper we had, cut it up into smaller squares and tried laying them gently in the paint. I used both hands to pick up the paper trying not to smoosh it into the paint too much.
The girls came out to see what I was doing, and they wanted to give it a try too!
Ella wanted a bit more control over what the paint was doing so she tried just touching the paper to the bottom of the pot as it dripped down.
The end result of this experiment was pretty fun and cool!
We used these as Mother's Day cards. Writing on the back. Sometimes I turned the paint image into something, like this butterfly for my Grandma's card.

Craft Project: Pour Paint Glass Flower Vases

We've created pour paint wine glasses and pour paint flower pots. I thought it would be fun to combine the two and create pour paint glass flower vases! We gave these away for mother's day gifts!
Here's one of them with flowers in it after we gave it to my stepmom:
In the above photos, I just masked the bottom of the vases. Below, I masked the top and bottom of the vases. We poured paint along the sides with a spoon as we did for the wine glasses we made in another project.
 
Just be sure to cut along the edge of the tape before you pull it up, after the tape has dried.

I happened to be at the Dollar Tree and noticed they had cosmo-style glasses. I decided that we needed to make pour paint cosmo glasses to add to my glassware collection!
 I really LOVE how these turned out! They are so fun to drink out of!

Monday, May 13, 2013

Craft Project: Handpainted Garden Art

I came across this post for painting glass plates and turning them into garden art. I decided these would make some fun and creative Mother's Day gifts. So the girls and I set out to make some pretty garden art for grandmas and great-grandmas.

What you'll need:
--glass plates/bowls from Dollar Tree
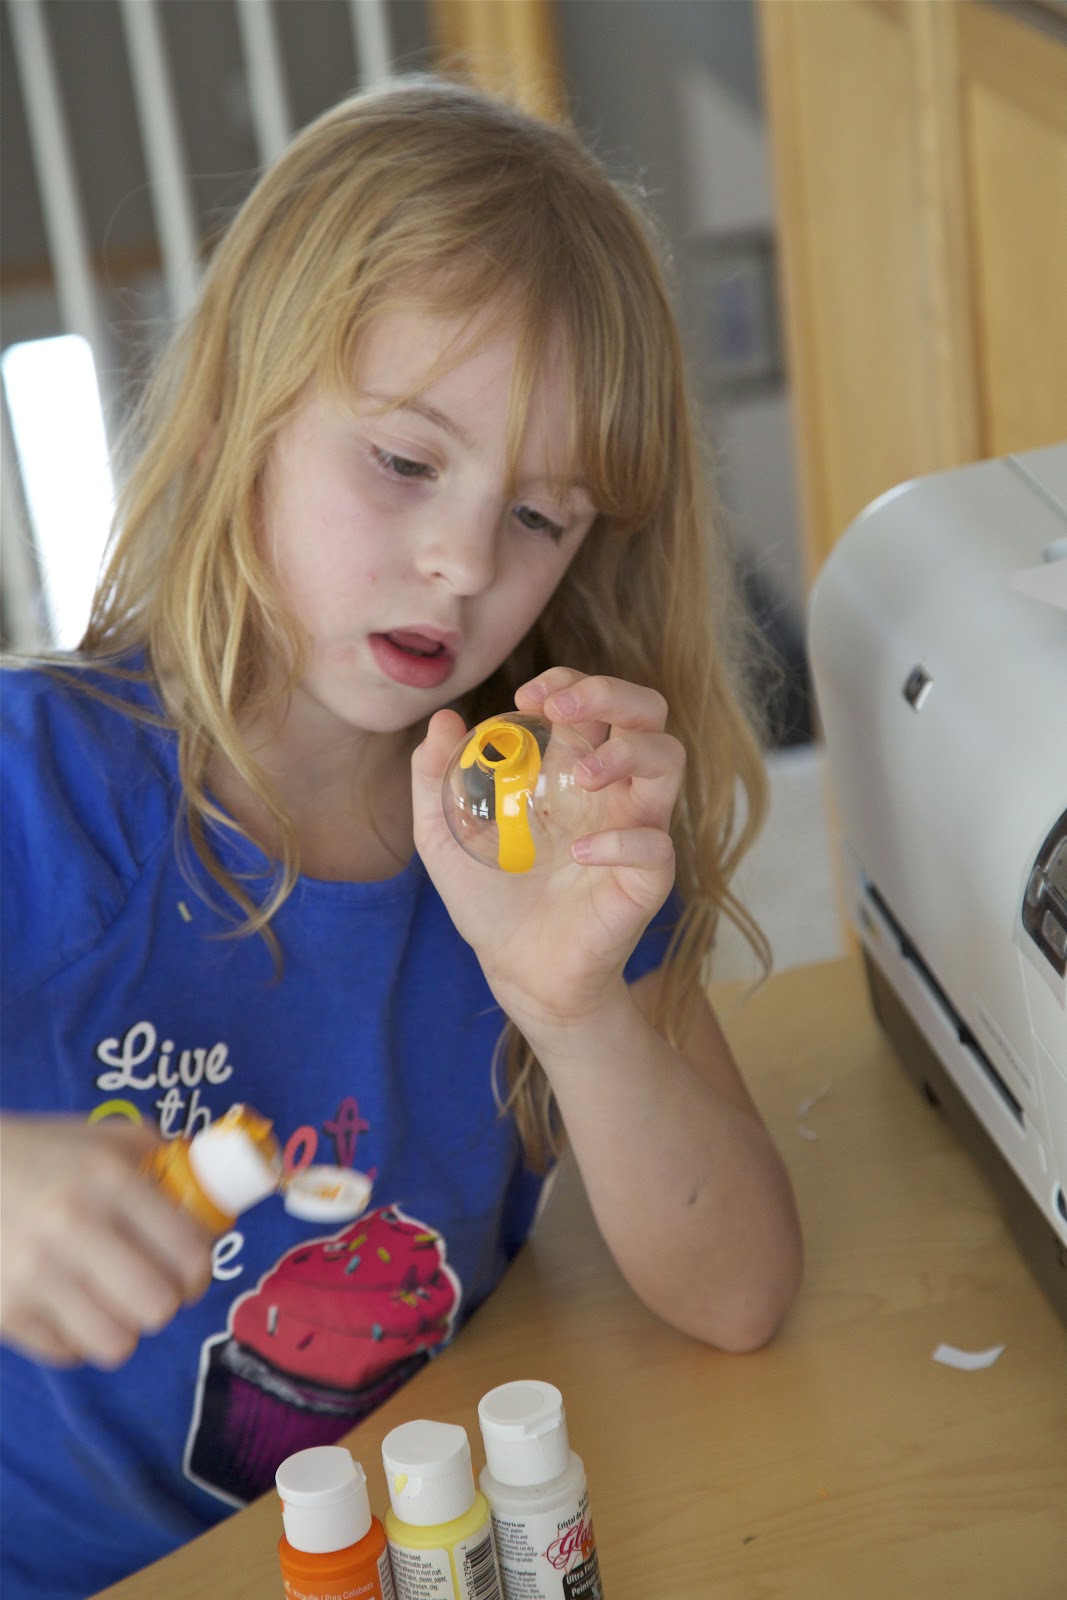
--Gloss Enamel acrylic paint and Crystal Gloss Enamel Paint
--Triple-thick Glaze spray
--3/8" coupling
--threaded rod
--UV6800 industrial strength glue (You might also want to try Gorilla Glue--We had a couple of our gift plates separate from the coupling during some really strong storms that have come through in the last several weeks. The plates survived, but the coupling had to be reglued.)

The nice thing about this project is that you can buy the plates and paint, and just go for it. You don't have to add glazing medium (unless you want to and we did add a bit on a few of the plates). We chose to paint the BACK of the plate because you can use the pattern detail in the plate as a guide. It also creates a smooth look on the front.
We did some pour paint on a few of the plates.

  Our art room turned into a glass painting studio.
 We used both big plates, small plates, and a bowl.
The four plates on the left half of the image were Mother's Day gifts this weekend. The three plates on the right are for our landscape bed and they are not quite done yet. I'll add a photo of them when they are.

As I did with our pour paint wine glasses, I baked the plates to cure the paint into an enamel surface. 350 degrees in the oven for 30 minutes. Starting with a cool oven and letting the glassware heat up with the oven. Remove items once cool.
I had no issues with the paint baked on wine glasses. I did have some issues with the paint on a few of the plates bubbling up once baked. I think this may have happened because we applied the paint thicker on the plates than we did on the wine glasses.

It ended up working out that we painted on the back of the plates. Even though the paint bubbled up, it still looked smooth and great from the front of the plate.

Once the plates were baked, I further sealed the painted side by spraying Rustoleum Triple Thick Glaze spray on them. When that was dry, I used UV6800 industrial strength adhesive to glue the two painted pieces together. I let that sit for a day and then flipped it over and glued the coupling on the back. I let the whole thing sit for two more days. It seems like it has an incredibly strong bond so I'm crossing my fingers that it stays attached for a long time. (EDITED TO ADD 6/28/13--You might also want to try Gorilla Glue--We had a couple of our gift plates separate from the coupling during some really strong storms that have come through in the last several weeks. The plates survived, but the coupling had to be reglued.)


And finally here they are with the threaded rod attached and in the ground. Unfortunately, our landscape bed doesn't quite look like spring yet (even though it's May 12th) because our winter hung on for soooo long this year. We gave this one to my mom for Mother's Day.

And here is one in my Grandma's flower bed on Mother's Day!
I'm excited to finish our last three plates that will go in our yard! Maybe spring will finally arrive in Minnesota so we can enjoy them with our beautiful flowers in our landscape bed.

Thursday, December 6, 2012

Handmade Holiday 2012: Pour Paint Ornaments

We have been on an ornament making frenzy around here! Not sure why this year we are so into making ornaments, but it sure has been fun! Maybe it has something to do with all the great ideas on Pinterest. ;-)

I've already written about pour paint ornaments in a post about my holiday craft workshop. But I thought I would elaborate more. The girls and I made quite a few more. We have two trees in our house. A large tree in our family room that has our Hallmark ornaments, ornaments from places we've visited, and special ornaments (like all of our Baby's First Christmas ornaments, etc). Then, we have a smaller tree that we usually put in our front window. I decided this year we should put it in our loft upstairs next to the art room. We usually have mostly cheapy, plastic-y, matchy ornaments on that tree that we bought a few years ago when we didn't have enough ornaments for two trees. Well, we've made enough ornaments this year to fill our small tree. And what fun to have handmade ornaments on a tree that is right next to our art room! :-)
 Hard at work!! Such concentration!
 Here are the pour paint ornaments that are now on our tree!
A few tips! Definitely put only a litle bit of paint in. You just have to be reeeeaaaallly patient. Just keep turning the ornament around and watch the paint swirl. The less paint you use, the more layered the ornaments will be. If you add a lot of paint, it won't be as swirled, just large areas of one color here and there.
And the best part is that we can enjoy them on our tree for a few weeks and then we can pick some to wrap up and give to people. And we can make new ones for the tree next year!

My daughter's girl scout troop also made some pour paint ornaments to sell at their holiday boutique. The girls did an amazing job! I was fascinated to see the color combinations the girls came up with. They also made super cute reindeer ornaments that I'll post about separately.
 
They put some colors together I never would have thought like red, metallic gold, and turquoise. I never would have suggested that and it turned out FABULOUS (see lower right in the photo below. Here are some of the more fun combos the girls came up with:
I also came across a glow-in-the-dark version of the pour paint ornaments! Oh swoon! Yes, I have already bought the paint, in case you had any doubt. Thank you Michael's 40% off coupon. I will update after we make some of these. I thought we might hang them in our south facing family room window. It receives full sunlight nearly all day! And yes, hello, my name is Holly and I'm officially addicted to making Christmas ornaments. I'm pretty sure my husband thinks I'm insane. LOL!