My mom's birthday was yesterday and I wanted the girls and I to make her something fun. I had come across
this post on doing pour-paint on a glass tumbler. I was so excited to have another idea for pour-paint.
We made pour-paint flower pots a year ago for teacher gifts and the girls LOVED it. Okay, I admit it, I LOVE pour-paint projects too. :-)
My mom and stepdad drink wine often and I thought it would be neat to make them some fun wine glasses to use. And with these, each glass is unique, so you don't have to use wine charms, glass markers, or anything else. You just have to remember which color glass is yours!
Will admit this project was done over several days and took some trial and error. But hopefully, I can hash all that out for you so that you can just cut right to it and do the project without added steps. However, I really
enjoyed the PROCESS of this art project.
Without further ado, here are the supplies you will need:
--Wine glasses (or glasses of any sort)--I got some great ones from the Dollar Store! They also had some decent stemless glasses there
--High gloss enamel acrylic paint. I used Americana Gloss Enamels (which is opaque) and Americana Crystal Gloss Enamels (translucent)--the Crystal paints were hard to find in a store. I had to order online.
--
Glazing Medium or
Americana Clear Medium
--paper cups, plastic spoons OR small squeeze bottles
--blue painter's tape
--newspapers and paper towel
--Krylon Triple-thick Crystal Clear Glaze spray (optional)
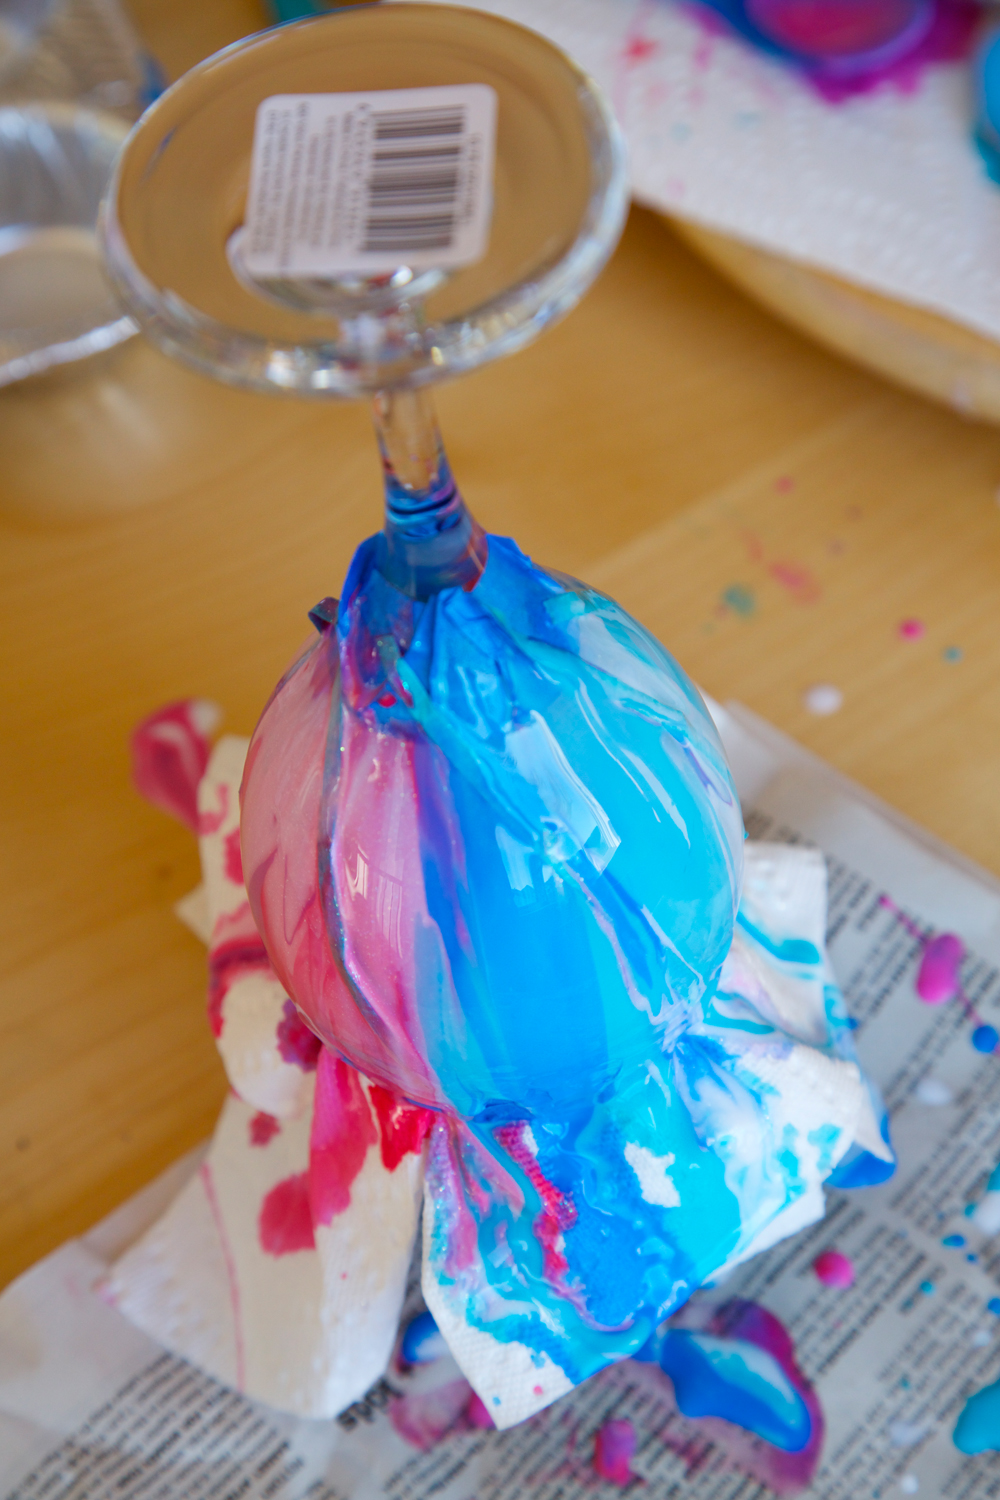
STEP ONE: Tape off any area you do not want paint to cover. In the case of the wine glasses I did it around the top one inch where your mouth would go. And the base of the bowl of the glass. There was a natural line where the stem met the bowl.
Then suspend the glass on top of something so the glass will not sit in a pool of paint. I used paint bottles. I've found putting a paper towel between the glass and the paint bottle helps contain a bit of the mess.
(SKIP DOWN TO STEP 2 if you just want the nitty gritty and don't want to wade through my process) ;-)
 |
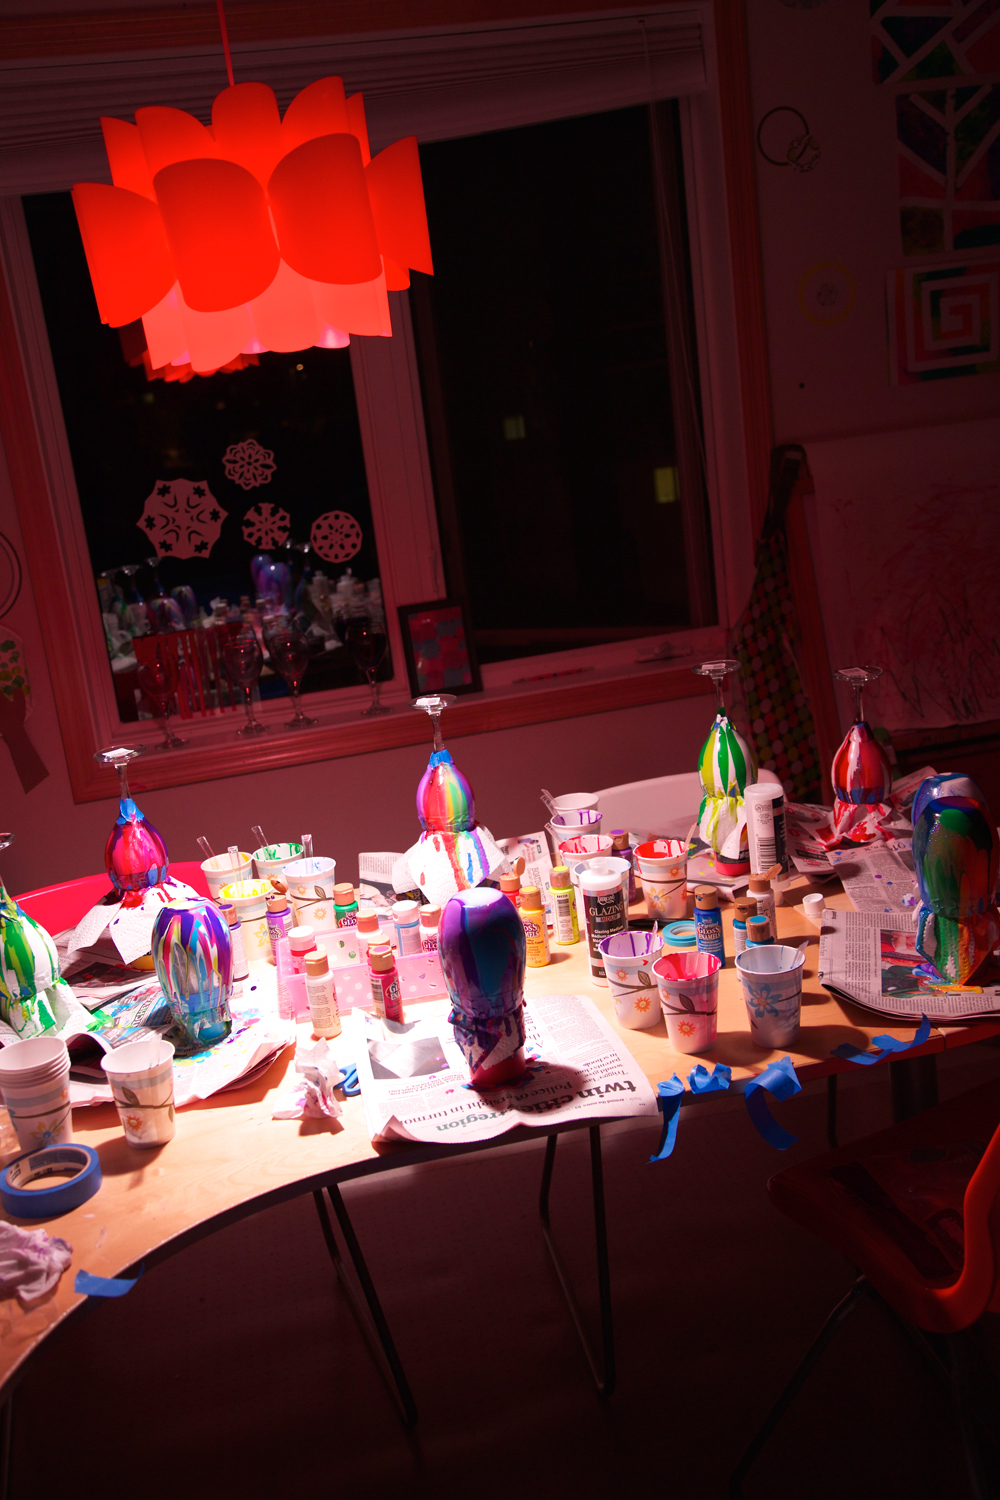
| What the girls found waiting for them after school. |
|
|
I actually tried this project first to see how it was going to work and what adjustments I might have to make for the girls. So here is my initial glass:
I used the Crystal translucent paint without thinning it out at all. I really thought the paint would lighten a bit more than it did. This was waaay too dark for a wine glass, at least in my opinion. Though it would look wonderful painted on glass for a faux stained glass image!
Next, I poured the glazing medium into a throw away aluminum muffin tin and added some translucent paint to it. We used our plastic spoons from IKEA that we keep in the art room.
The paint is thin enough that you can turn the glass to help direct the flow of the paint.
My daughter also masked off some stripes with thin blue tape.
 |
| Finished and drying. |
Here are the first round of completed glasses:
They are gorgeous and I love them! However, I decided I wanted us to make some that were a little LESS translucent. In order to find MY happy medium, I decided to do a little experimenting so I took the glass out of one of our Dollar Store frames (good thing I just keep some on hand). I tested both the opaque and translucent paint mixed with varying amounts of glazing medium. Here are the results:
1) opaque High Gloss Enamel paint
2) with a bit of clear fill medium (1:1 ratio)
3) more clear fill medium
4) 1:2 ratio of 1 part opaque paint, 2 parts clear fill medium
5) 1:1 ratio of opaque paint and glazing medium
6) more glazing medium to one part opaque paint
7) 1:2--1:3 of glazing medium--I didn't actually measure anything out just eyeballed it. This last one is somewhere in the ball park of 2 or 3 parts glazing medium to 1 part opaque paint.
A) translucent Crystal Glass Enamel Paint
B) 1:1 translucent paint with clear medium
C) 1:1 translucent paint with glazing medium
D) 1:2 translucent paint with glazing medium
You can see how it flows better once it's thinned and I decided that I like using the glazing medium over the clear medium. We used quite a bit of glazing medium for all the glasses we made. We used two 8 oz. bottles.
*Tip* Paper cups, small light weight plastic spoons work best for holding the paint. Initially we tried a muffin tin, but the paint was so thin that it was easy to drip into the other paints.
STEP TWO: Mix paint and glazing/clear medium to your desired translucency and pour on glass with a spoon (or small squeeze bottle)
FOR STEMLESS GLASSES: Just like with the pour-paint flower pots, just pour paint in one spot on the bottom of the glass. Keep adding paint to the same spot and it will eventually fall down over the sides.
*Tip* Next time I do stemless glasses, I think I will mask off the bottom of the glass as well. I think they are much brighter and lighter if there is light flowing all the way through the glass. You can see this in the stem glassware below.
FOR GLASSES WITH A STEM:
Just use a plastic spoon and drip paint down the sides. You will have to rotate the glass or pick it up and let the paint drip around the glass.
STEP THREE: Let dry for 24 hours. I was actually amazed at just how quickly these dried to the touch! I think even after 12 hours they were pretty much dry to the touch.
The aftermath! After they dried for a few hours, I cleaned up and took the paper towels off, just leaving them suspended to dry overnight.
STEP FOUR: After they were dry to the touch, I took the blue tape off. I used a small sharp pair of scissors to go around the edge of the tape so it would come up easy without pulling the paint off. You can use an Exact-o knife too. I am just a bit clumsy with sharp objects and felt like I had more control with a small pair of scissors. After the tape was removed, I used a mild scouring pad to rub off any excess paint that might have transferred where I didn't want it. You can use your finger nail too. I found the paint came off very easily. I then rinsed the glasses and patted them dry.
STEP FIVE: You can cure your paint for 21 days. But who wants to wait that long to be done with a project that looks this amazing??? So put your glasses on a cookie sheet in a cool oven. Turn it on to 350 degrees and let the glasses heat up with the oven. Leave in there for 30 minutes (I might have left mine for 40). Leave in the oven until cool to touch. Once I could remove the pans I just let them finish cooling on the top of the stove.
You can see a difference in the paint once it's baked. It definitely feels and looks more enamel-like. But the colors stayed just as bright and vibrant!
After this step, you can be done.
(Optional STEP SIX) I plan on retaping the glasses and spraying with Krylon Triple-Thick Clear Glaze just to ensure the paint will last and not scrape off. I will update with a review of this process once I'm able to complete this step.
Lastly, they should be top-shelf dishwasher safe. I read you shouldn't soak them in water for a long time. But otherwise, they are fine to be washed.
And just because they are so darn pretty, I took them out on our deck with my white backdrop in full sunlight and obsessively photographed them!