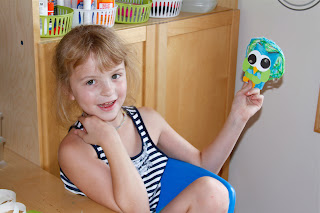
This was one of the last projects we tried this past summer. I came across the artist
Frank Stella
on Pinterest. I had not heard of him before, but I was immediately
drawn to his geometric artwork and his bright sculptures. I thought it
would be fun to show the girls his artwork and create cardboard
sculptures. I was first inspired to try this project after seeing
this project posted on The Chocolate Muffin Tree blog
Here are some examples of Stella's work that I showed the girls before we started our project:
I thought it was fun to show them images with people in them so the girls could get a sense for the large scale of his artwork.
And some of his sculptures:
After I showed the girls Frank Stella's artwork, I showed them Chocolate Muffin Tree's cardboard project. Then I gave them a piece of cardboard and our bin of recycled materials and told them to get to it. We received how to use a hot glue gun safely and they were off! I think they really enjoyed the process of creating these sculptures. I love all the concentration you see in the photos as they are creating!
I thought it was simply amazing how they manipulated the cardboard and worked the glue fun! I didn't help them with these AT ALL!
Top image is my 9 year old's, bottom image is my (then) 6 year old's.
After they were done creating their sculptures, I spray painted them white.
And then they were going to paint them with acrylic paints. Ella picked cool colors.
Lily picked warm colors.
I admit that this project might have been a bit too ambitious for the end of the summer. Even though there was more than a week between when they created the sculptures and when they were going to paint them, the girls just were not that interested in painting the sculptures. They did a few tubes the first day. Then I tried to get them to keep going, but they just didn't feel like it. So unfortunately, we don't have a finished project. I still have them up in the closet. Maybe they will finish them someday. Maybe next summer. ;-) They absolutely LOVED the construction part of this though. I will have to remember that and see what I can come up with in the future that can feed off that.


