Wednesday, July 18, 2012

2012: Project 4: James Rizzi-Inspired Birds (Bird Art Camp)

My girls have taken part in many, MANY art camps in the last few years around where we live in Eden Prairie: at Kidcreate Studio and the city's Art Center. Everything from Journey through Art, Art Around the World, Pinkalicious and Friends, Dress Up Camp, Lego Loco Art camp, Fairy Camp, Angry Birds Art, and more. They are in a few camps this summer as well, but I decided after spending two summers doing art projects with the girls and seeing so many fun projects on Pinterest that I would attempt my own form of Mommy Art Camp. We usually do one art project a week here at home because we have so much going on. But I picked this week and blocked off enough time to do four days of art projects all relating to birds. AND, to top it off we are going to make a trip to the MN Zoo on Thursday to tie in our Science Friday (albeit on Thursday) activity with it. It won't be too exciting, but we're going to pay extra attention to all the different types of birds we see while we're there.

At first, I planned one project for each of the four days, but the girls were pretty excited about the whole thing, so I quickly threw together an extra project on Monday. I have since planned other projects so that we're doing a couple things each day.

I gave them their art journals and showed them several images of James Rizzi's (1950-2011) art work. He was a New York artist whose pop art style was fun and whimsical. The girls thought his buildings in Germany and his stained glass window in a shopping center were really cool. But they loved the rest of his art too. We had fun looking for birds throughout his work.
Happy Rizzi House, Germany

Rizzi Cupola in shopping center dome.


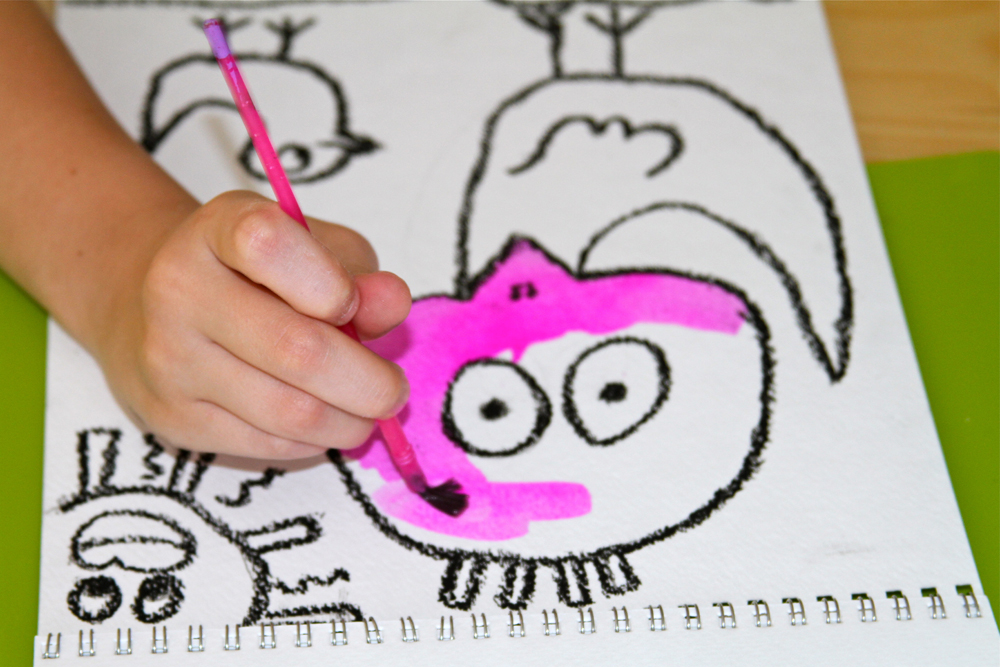
Once we had looked at the images, I used Deep Space Sparkle's Rizzi birds art lesson as a guide and showed the girls how to draw a bird in Rizzi's style. We were also inspired by this image from Cedar Creek Elementary on Artsonia. They used pencil and then I outlined their drawings in pastel for them. I typically would let them do the outlining, but I knew from past experience that it is difficult for them to outline with pastels without smearing it on the page. I wanted to keep them happy and in good moods without thinking they had "messed" up their artwork. They also didn't object to my outlining or I would have let them do it. After this step, they used liquid watercolors to paint the birds in bright fun colors.
I drew out each set on the chalkboard while the girls followed along.
Outlining finished!
Starting to paint

I actually preferred the contrast with the lime green, but Lily wanted to mix colors for the background. I didn't say anything and she went on her merry way. ;-)
And here are their finished Rizzi-inspired birds:
My six year old's. The background turned out pretty darn cool! I also love the expression on her sun. :-)
My eight year old's. So cute!
The girls liked this project. They have both drawn this style of bird on different paper when they were creating on their own in their rooms. :-)  And I learned about a new artist too! I hadn't heard of James Rizzi before and really think is art work is quite fun and would be an awesome theme for a child's bedroom.


Monday, July 16, 2012

2012: Project 3--One Point Perspective

I felt like my girls were ready for a bit of a drawing lesson as opposed to just learning about various artist's styles and techniques. So we tried one-point perspective a couple weeks ago after I found this great lesson from the smART Class blog.

I started off showing them a bunch of different artworks from different time periods. We started with some photographs I found through google images (sorry for the lack of source info, I just googled "perspective photos" and I will post some links at the bottom of this).
 I started by talking about specific terms with them: perspective, horizon line, and vanishing point.
Then I showed them the image below and how all the lines in the image all lead to the vanishing point.
I showed them all the following images, asking them to point out the horizon line and vanishing point. I pointed out the sky, ground, buildings or trees on the sides of the images.
Then I got a little tricky with the next two, but my smarties got that the vanishing point wasn't always in the same spot. ;-)
 To the left in the boat image and in the middle in the image below.

I showed them some Renaissance art paintings:
Raphael's "School of Athens", 1518
DaVinci's "Last Supper", circa 1495
Then we moved on to slightly more modern art:
Edvard Munch's "The Scream", 1893
And one of my favorite artists, Edward Hopper
Edward Hopper, "Gas", 1940
Edward Hopper, "Chair Car", 1965
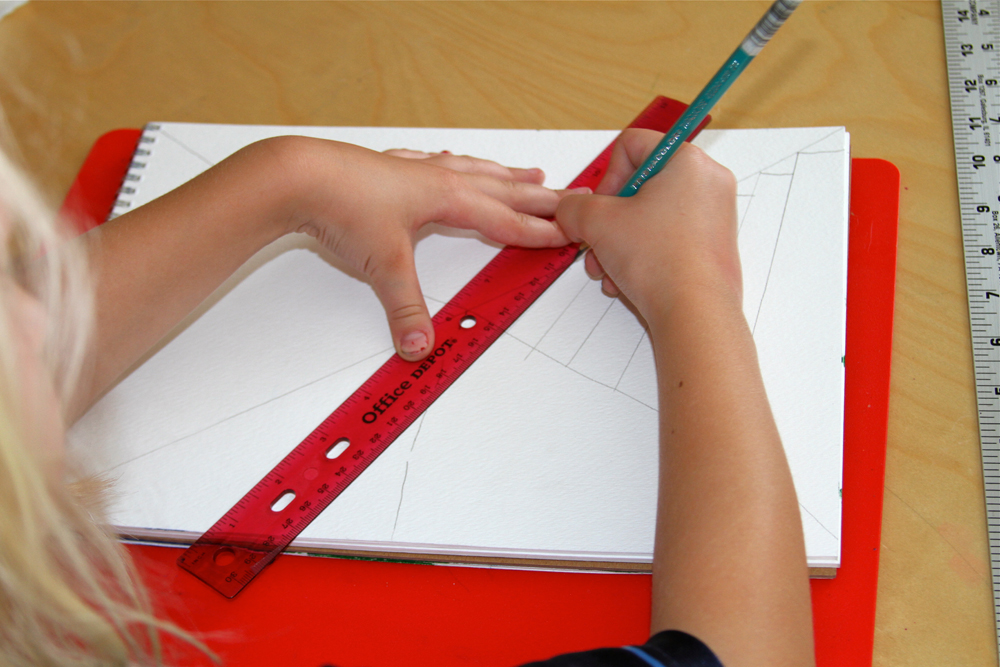
Finally, I showed them images from the smART class blog assignment dividing the paper into four quadrants separated by diagonal lines.
 After the girls made their diagonal lines, they filled in the right side with buildings...

 ...the left side with trees....
 Then sky in the middle on the top and a street in the middle on the bottom.
Hard at work in the art room.
Lily's perspective drawing! She's only 6 years old  (almost seven) so I didn't get particular about showing her the horizon line.
 And here's Ella's! I pointed out the horizon line to her and she grasped the idea pretty easily.
They really liked this project and have made pictures with this same technique since we've done this. A success as far as our summer projects go!

Craft Project: Kool-aid Dyed Yarn, Part 2--Solids

We also created solid color yarns with the kool-aid using a fairly similar process as the variegated yarn. The only difference is after we soaked the yarn in warm water and squeezed out the excess, we put it in a mason jar. Then, poured the kool-aid over it. We filled the jars about half-way to 2/3rds full with the kool-aid and then filled the rest of the jar with water to cover the yarn. I purposely did not shake the jar originally so that the bottom would be more saturated with color.
We microwaved the jar for 3 minutes, let it cool for 3 minutes and repeated the process several times.
The green color is Lemon-Lime, the blue is Blue Berry Twist. Below, the lighter pinkish color is pink lemonade and strawberry. The darker red is a mixture of black cherry and cherry.
Repeat the microwave process until the water runs clear and all of the dye is absorbed. After the first two repeats in the microwave, I added saran wrap over the top of the jar to speed up the process. At this point, I also shook the jar a little bit to make sure the dye was soaking into the middle of the skein.
 I think it's cute, my littlest one was curious about the jars on the table. He peeked out from the curtain until I told him it was ok to come look at the jars. :-)
 And here are our solid color skeins of dyed yarn:
 And ALL of our dyed yarn wound into center-pull balls ready to use:

Monday, July 9, 2012

Craft Project: Kool-aid Dyed Yarn, Part 1--Variegated

I saw several projects around the internet for dyeing yarn with kool-aid. I thought this would be a super fun project to do with the girls. They have been into making friendship bracelets lately. And I found several other projects we could do with our dyed yarn.

I went to JoAnn's and found 100% wool cream-colored yarn. It took some looking. I didn't want to spend too much money buying the yarn from a yarn shop. I was also a little disappointed that I couldn't find bright white wool yarn. It all seemed to be cream-colored. I could have ordered white yarn online but I didn't want to wait to do the project so I settled for the cream. It worked out well that we had a couple rainy days in a row. And my daughters were each busy on different days so I could do it one on one with them. It's always a treat to get to do something with each of them on their own.

Supplies you'll need:
--100% wool yarn (or some other animal based yarn. You cannot use Acrylic or cotton, it will not hold the dye)
--Three packs of koolaid per 2 cups of water.
--gloves to protect hands (optional)
--microwavable dish (a casserole dish or a mason jar)
--saran wrap
--squirt bottle to apply koolaid mix (or a spoon and bowl)
--something to protect your table/counter from getting stained with kool-aid


First step, create a skein of yarn by unwinding the ball of yarn and rewinding it around the back of a chair or using an umbrella swift. Or if you have a patient husband or kids, you could have them stand with their arms out to wrap the skein. Once you have your skein, soak the yarn in warm water.
There's actually three skeins soaking in this tub. After it has soaked about 30 minutes, squeeze the excess water out. This can easily be done with your hands and then rolling the skein in a towel to get the rest of the water out.
I mixed up three squirt bottles with grape, berry blue and lemon-lime koolaid. I used two packets of koolaid to one cup of warm water. I put saran wrap in the bottom of a casserole dish and placed the skein in it.
Ella alternated her colors squeezing the koolaid on. You really do have to put quite a bit on to make sure the interior yarn gets dyed as well. I also sort of pressed the koolaid into the yarn with my fingers so that the koolaid that had seeped through would soak into the bottom yarn.
Finished squirting the yarn with koolaid!
Wrap up the yarn in the saran wrap and put it in the microwave.
Microwave on high for three minutes, let it sit for three minutes and repeat this process 3-5 times. You can tell the dye has taken when all the liquid in the dish is clear (or slightly cloudy). The color will all be soaked into the yarn.
Once cooled off, rinse the yarn off to remove any excess dye that might be there. I didn't really have any dye come off when I rinsed it.
Remove excess liquid in a towel and hang the skein to dry. Because it was rainy, I hung the skein in the shower. But it took forever to dry. The next day it was much nicer and I let the yarn dry on the deck. That worked much faster.
My younger daughter wanted pink and purple. So we used pink lemonade for a very light pink, grape for purple and a mixture of pink lemonade and strawberry for a darker pink and a mixture of strawberry and black cherry for a redish color. We used the same process as above.
Sidenote: I used cotton yarn to tie the skein together. You can see in the photos how the cotton yarn did not take the dye.
 Drying on the deck.

And our finished skeins! Aren't they beautiful!!
This was such a fun project and it was really easy overall. Kind of piddly and multiple steps involved. But none of the steps are difficult. The girls really enjoyed this as well.

We also used mason jars to dye whole skeins of yarn one color:
(Inspired from this blog post at Knit One, Blog Two)

Here are links to several other blog posts on dyeing with koolaid:
Dyeing Playsilks (Includes a FANTASTIC guide for what koolaid colors to use to get certain colors)